github & github 图床
gitee图床
创建gitee账号
有账号密码可以直接进行图片仓库创建
打开gitee官网:[gitee官网]:https://gitee.com/
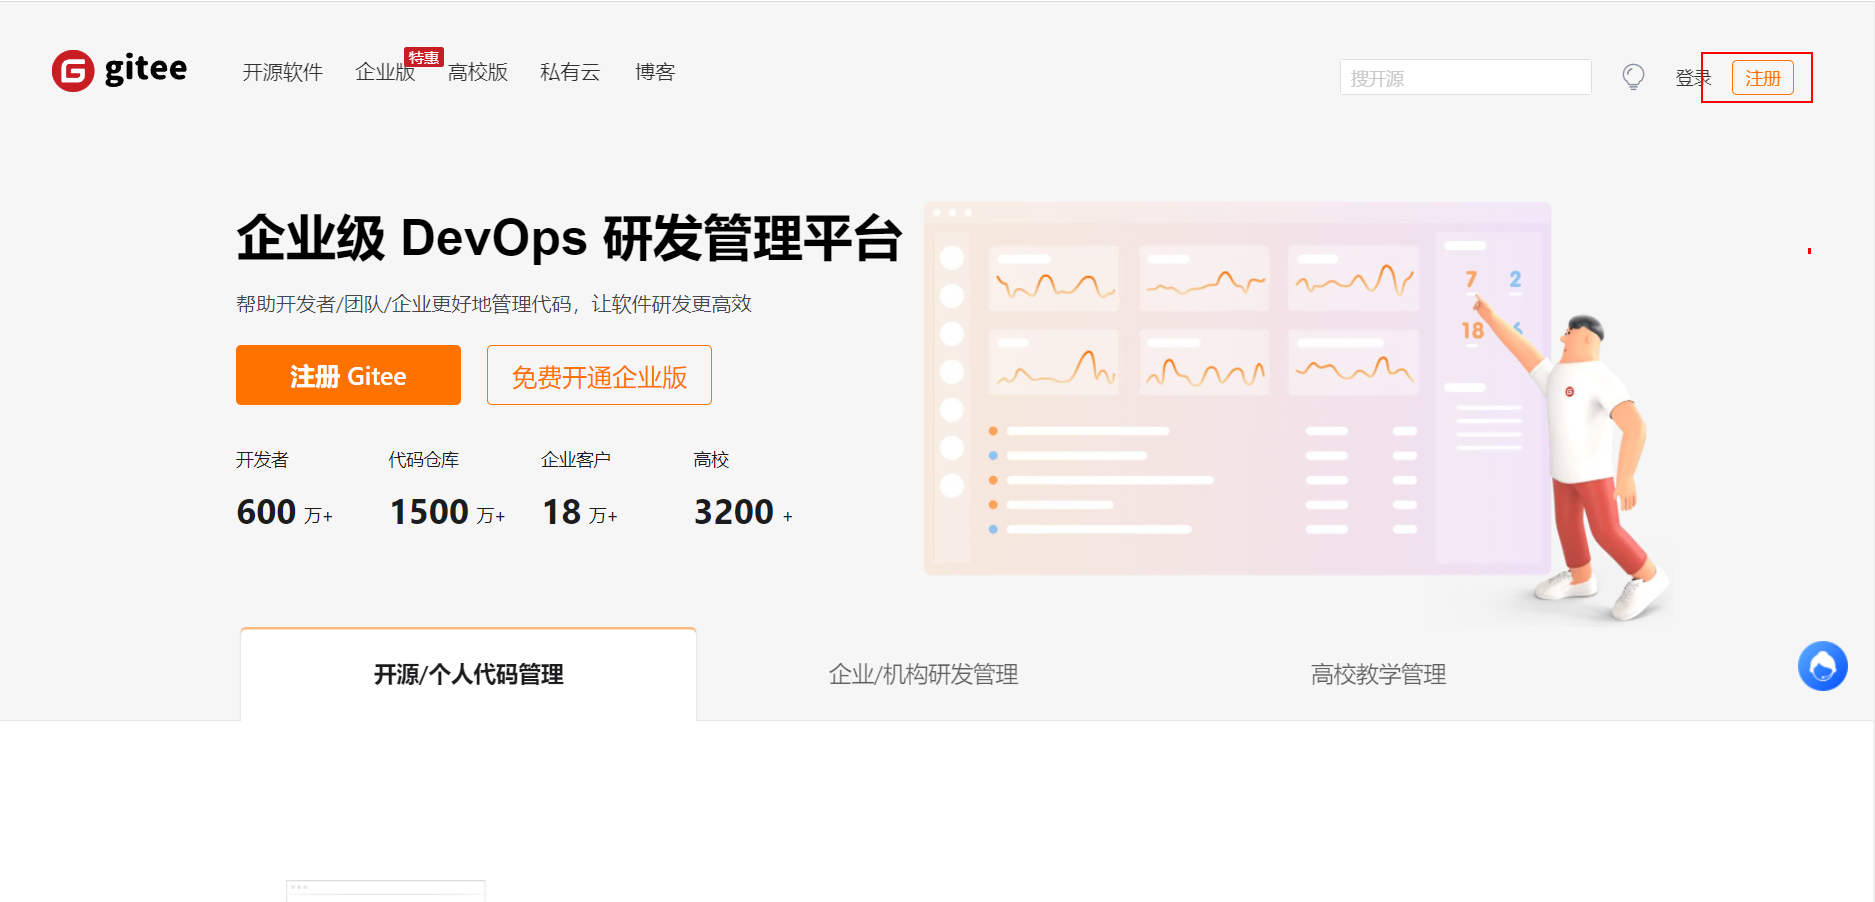
点击右上角注册
这个姓名是昵称
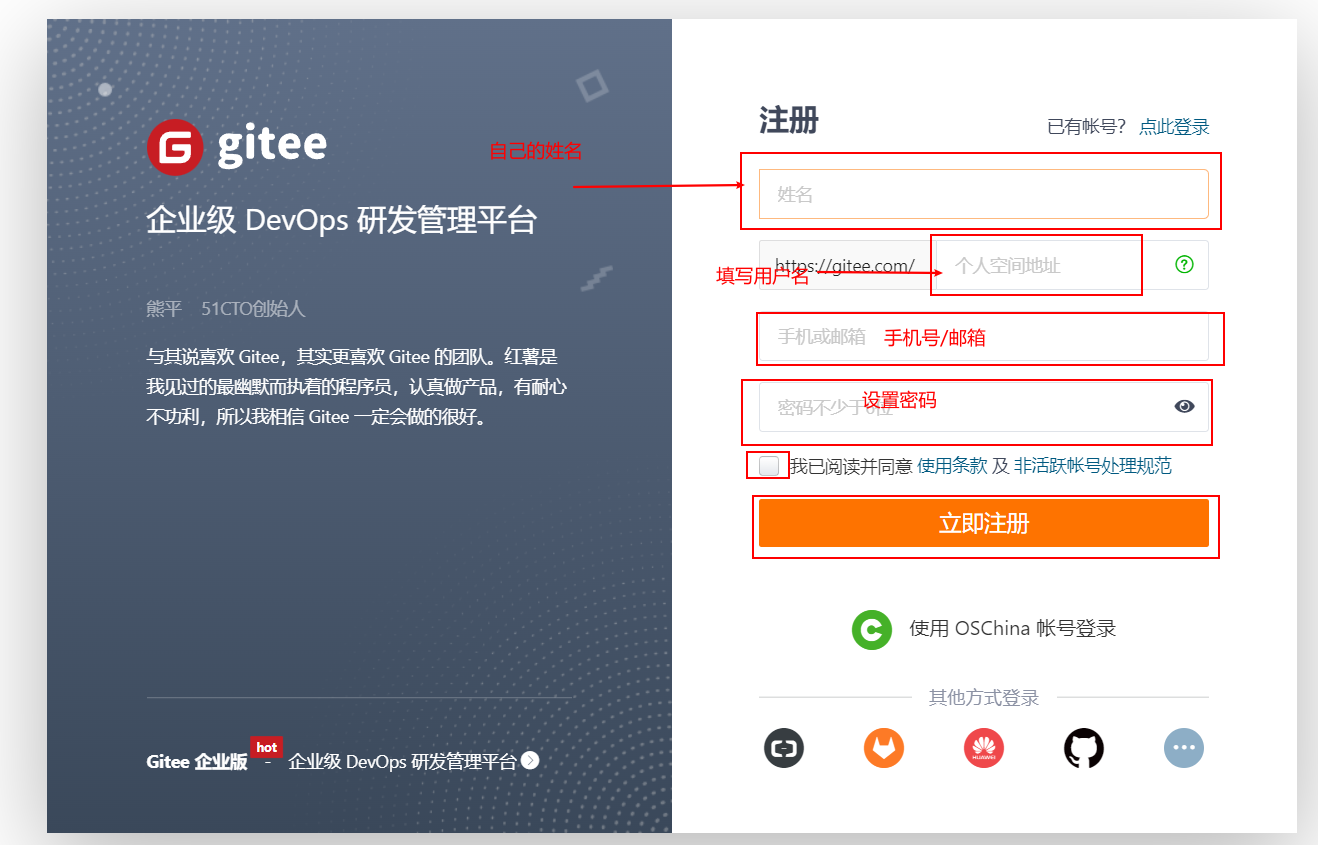
进行登录

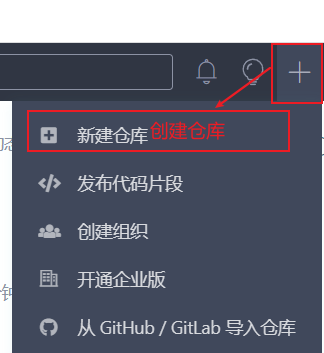
创建图片仓库
点击用户头像旁边的加号-----> 创建仓库
填写仓库信息
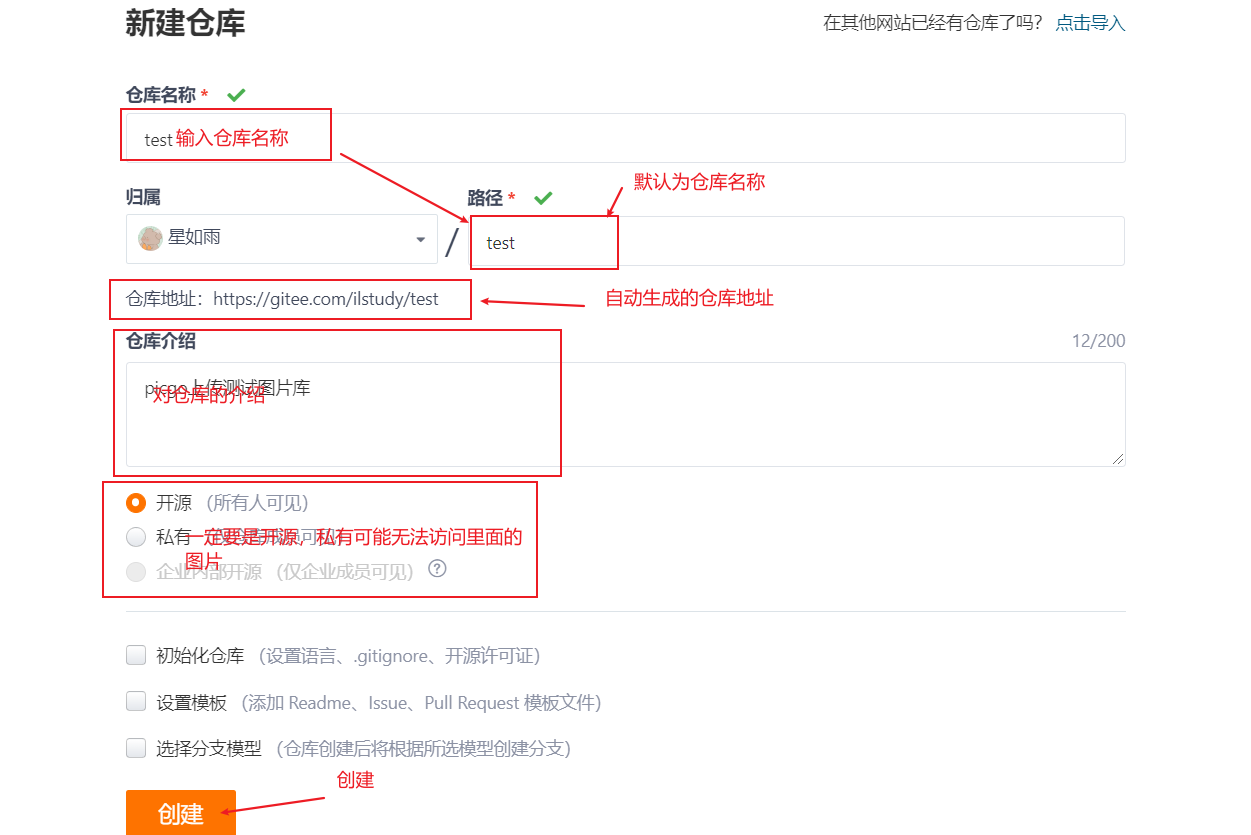
初始化readme.md文件
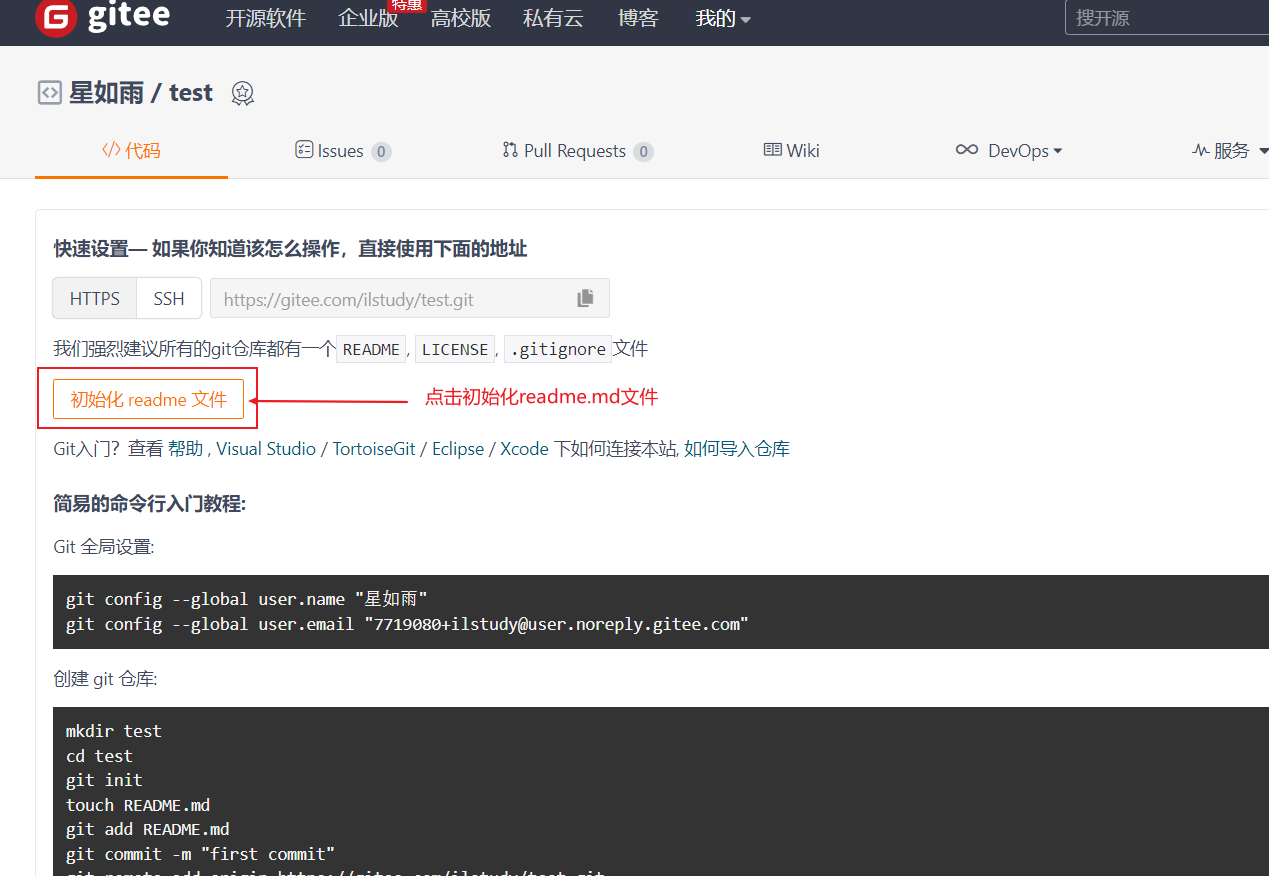
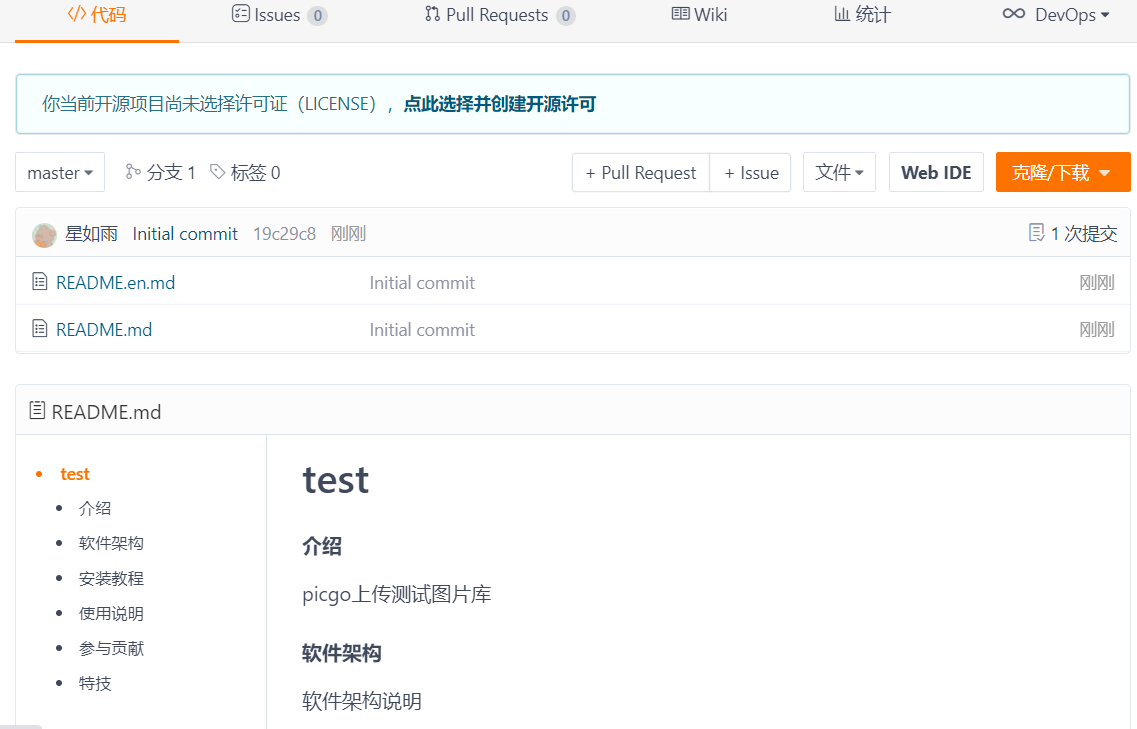
创建仓库成功
创建github图床
如果你没有 Github账号 可以在官网 https://github.com/ 注册。
下载 git http://git-scm.com/downloads 安装 -> 打开
输入命令
# 生成 SSH Key 备用
ssh-keygen -t rsa -C "youremail@example.com"
# 生成 SSH Key 备用
ssh-keygen -t rsa -C "youremail@example.com"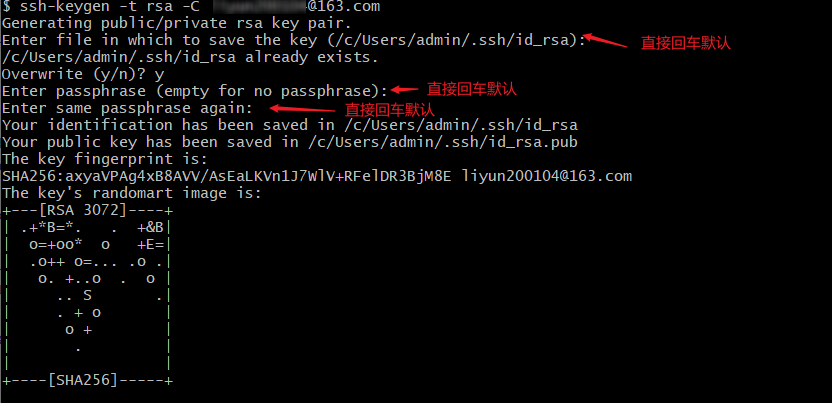
引号里面的为自己的邮箱
生成成功,本地电脑找到这个目录

进入到github官网 找到 setting
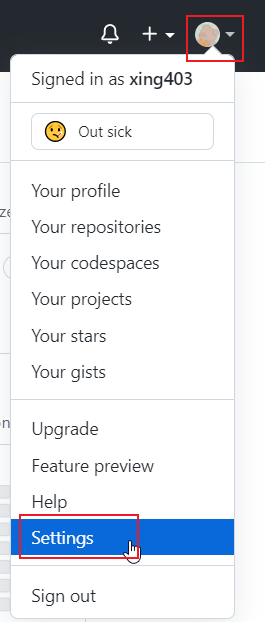
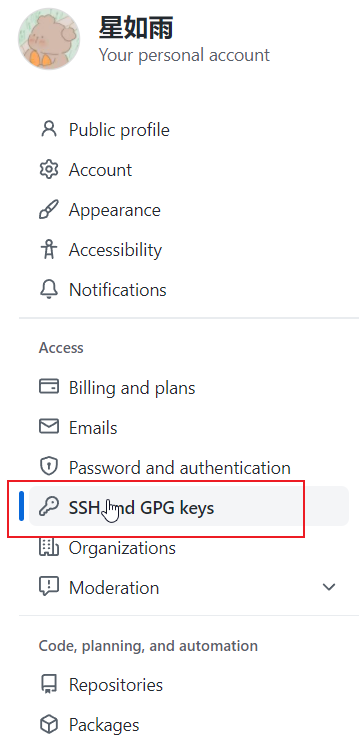
 此处的将ssh key 填入
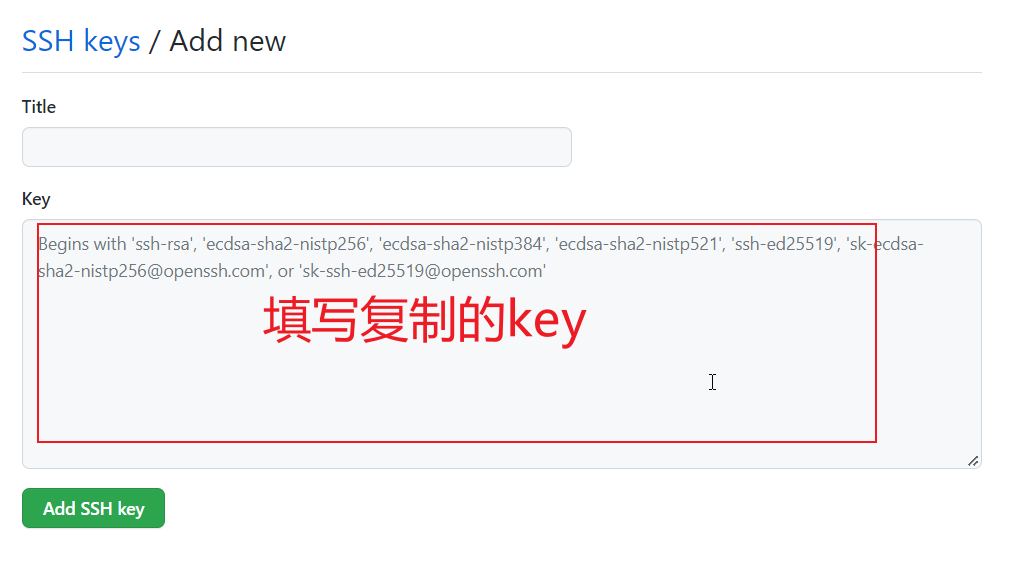
测试是否连接成功
ssh -T git@github.comssh -T git@github.com
创建 github 仓库
和 gitee 相似 http://ilstudy.vip/index.php/archives/26/
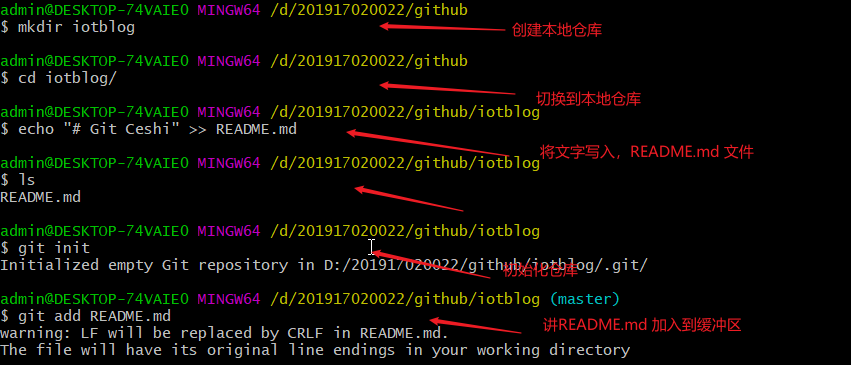
创建本地项目(github仓库中有资源)
git init
# clone github资源到本地
# git clone +GitHub上创建的仓库地址
git clone https://github.com/xing403/iotblog.git
git init
# clone github资源到本地
# git clone +GitHub上创建的仓库地址
git clone https://github.com/xing403/iotblog.git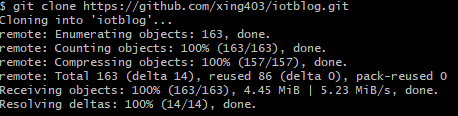
创建本地项目(github仓库中没有资源)
git initgit init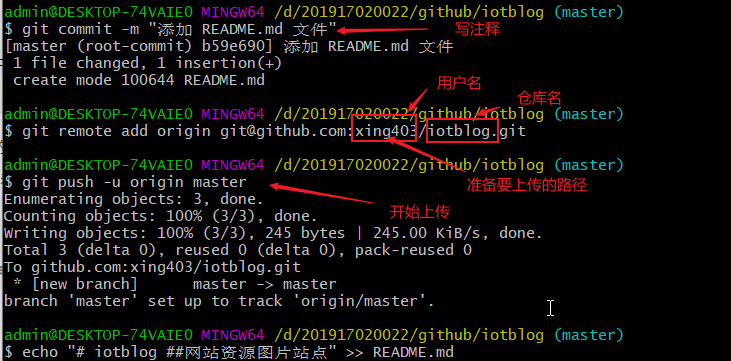
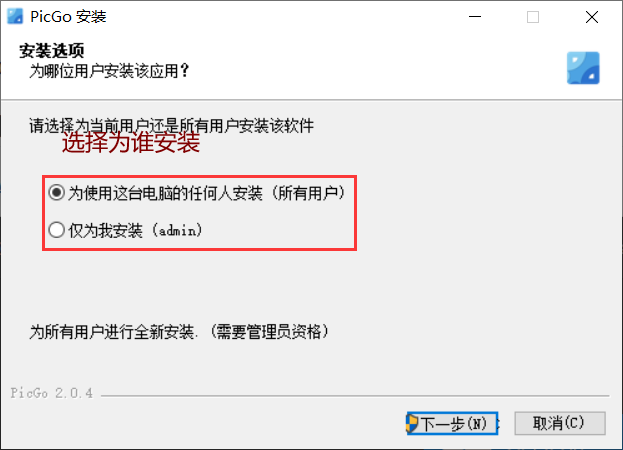
安装picgo
官网下载:https://molunerfinn.com/PicGo/
选择为谁安装该软件
选择安装路径
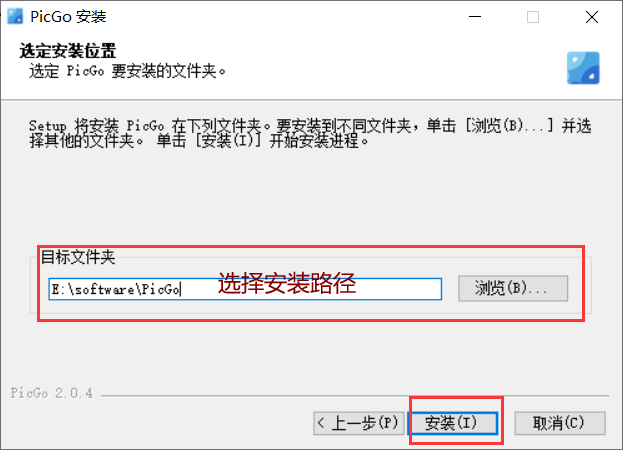

安装完成,点击打开

下载gitee插件
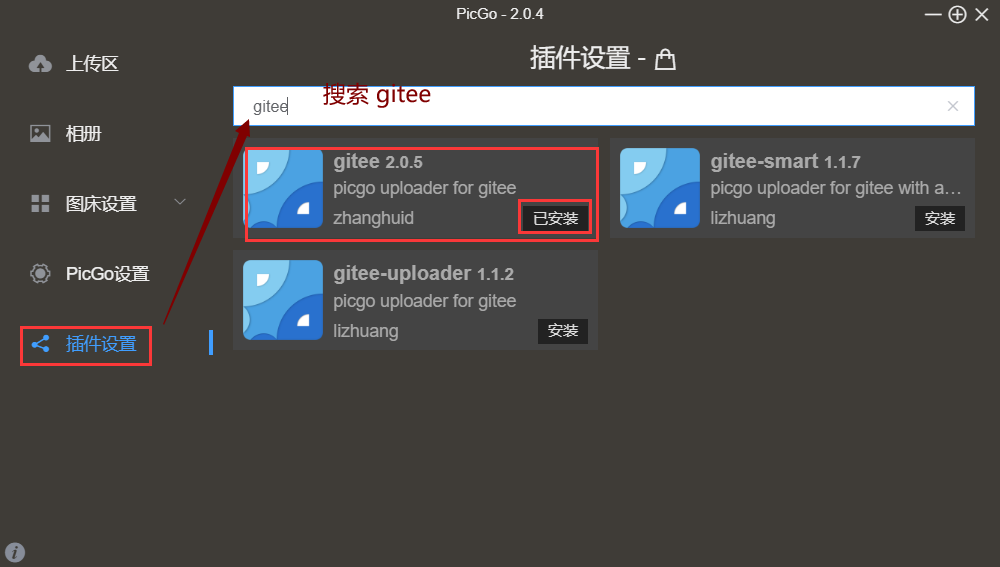
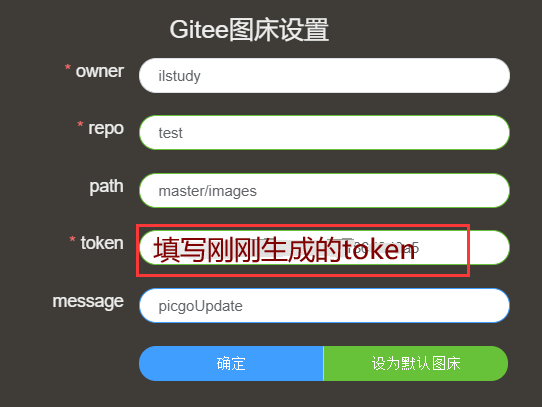
配置gitee图床信息
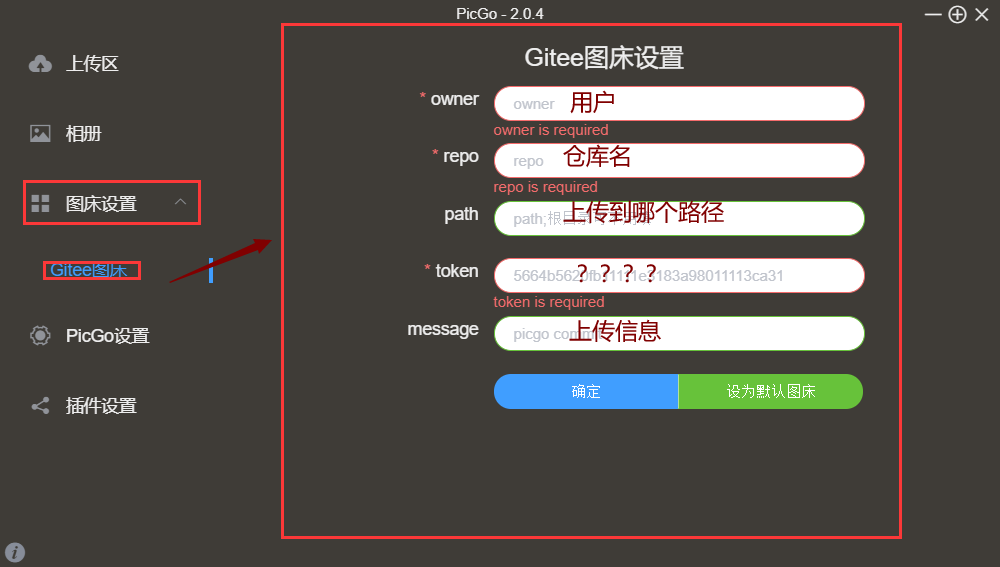
获取token
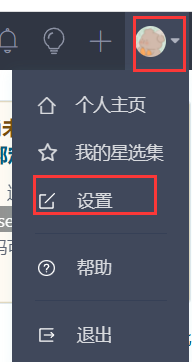
打开gitee页面
点击右上角用户头像---->设置
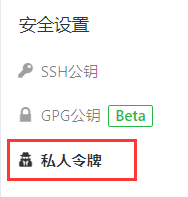
点击生成令牌
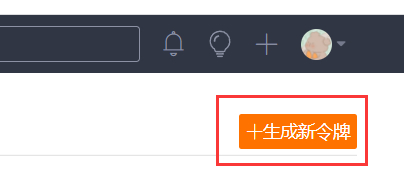
填写令牌信息
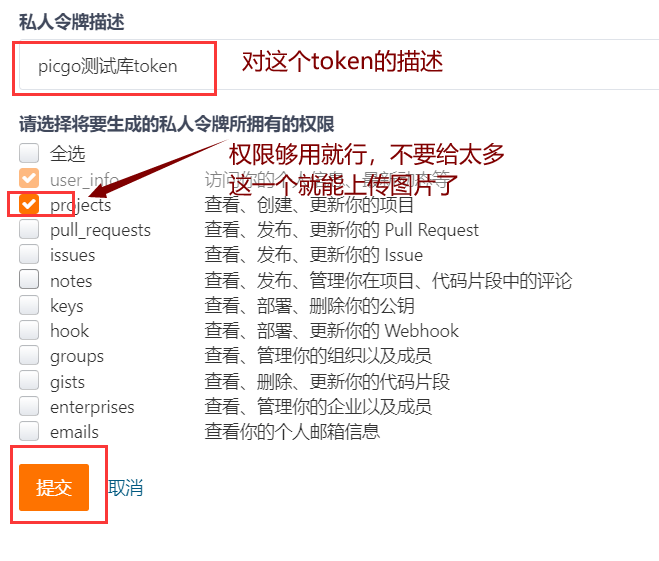
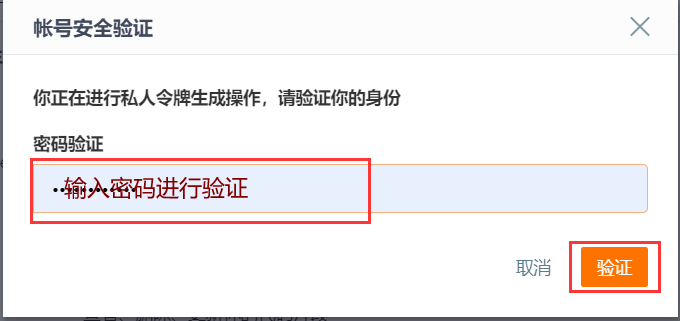
验证账号信息
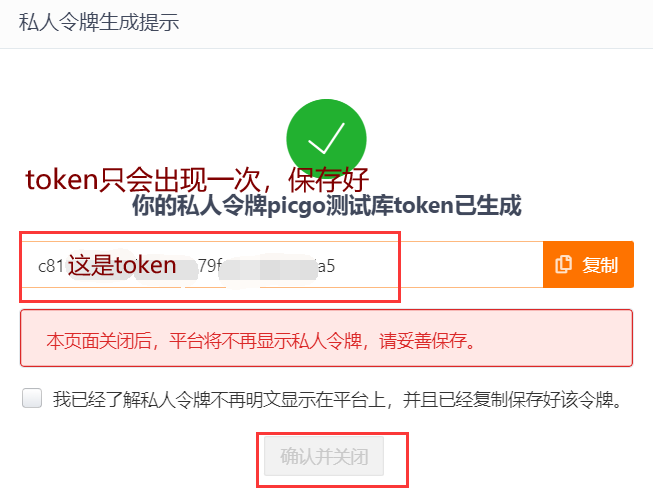
注意这里令牌(token)只会出现一次,请妥善保管


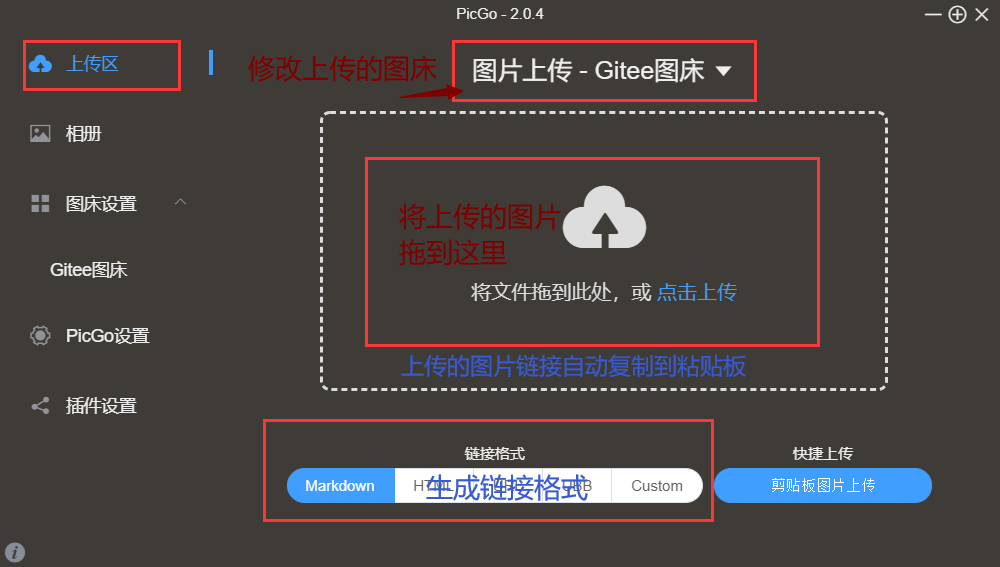
将图片拖拽的上传区就可自动上传,可以多个图片一起上传,在PicGo中有快捷键设置上传,方便上传操作
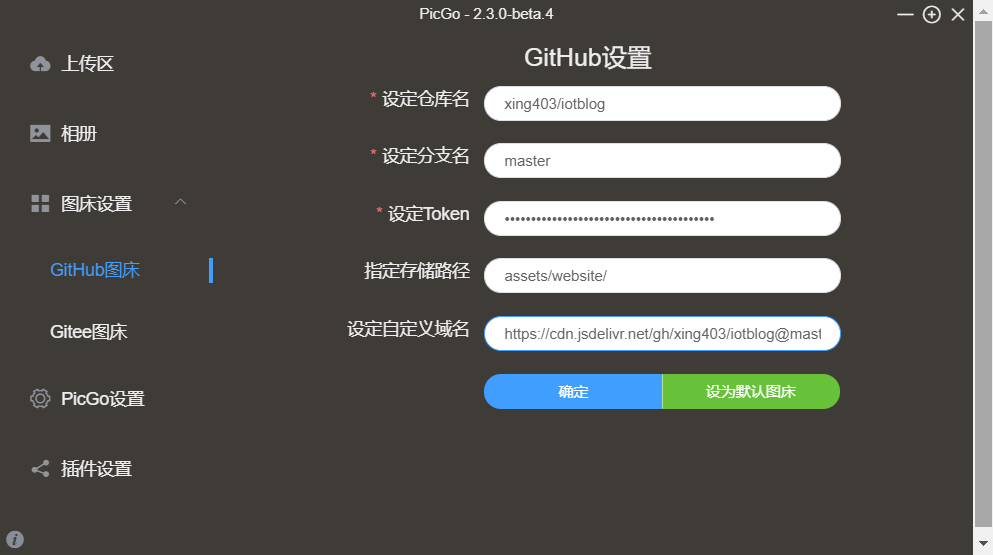
配置 GitHub 图床信息
生成 github 的 token
settings -> Developer settings -> Personal access tokens


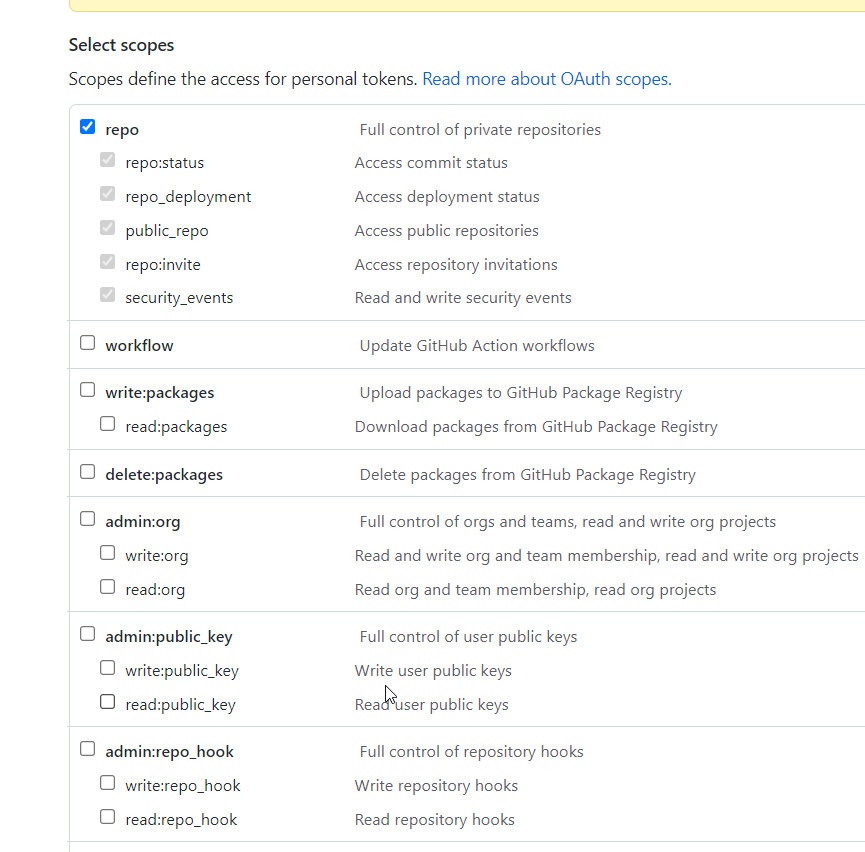
 保存好,token 忘记只能再次生成 配置 Picgo
安装snipaste
snipaste是一个截图工具,配合picgo使用,截完图直接通过快捷键或者拖拽到上传区,之后将图片上传到图床
官网下载:https://www.snipaste.com/download.html
快捷键 F1 进行截屏,笔记本截屏可能需要使用 Fn + F1